
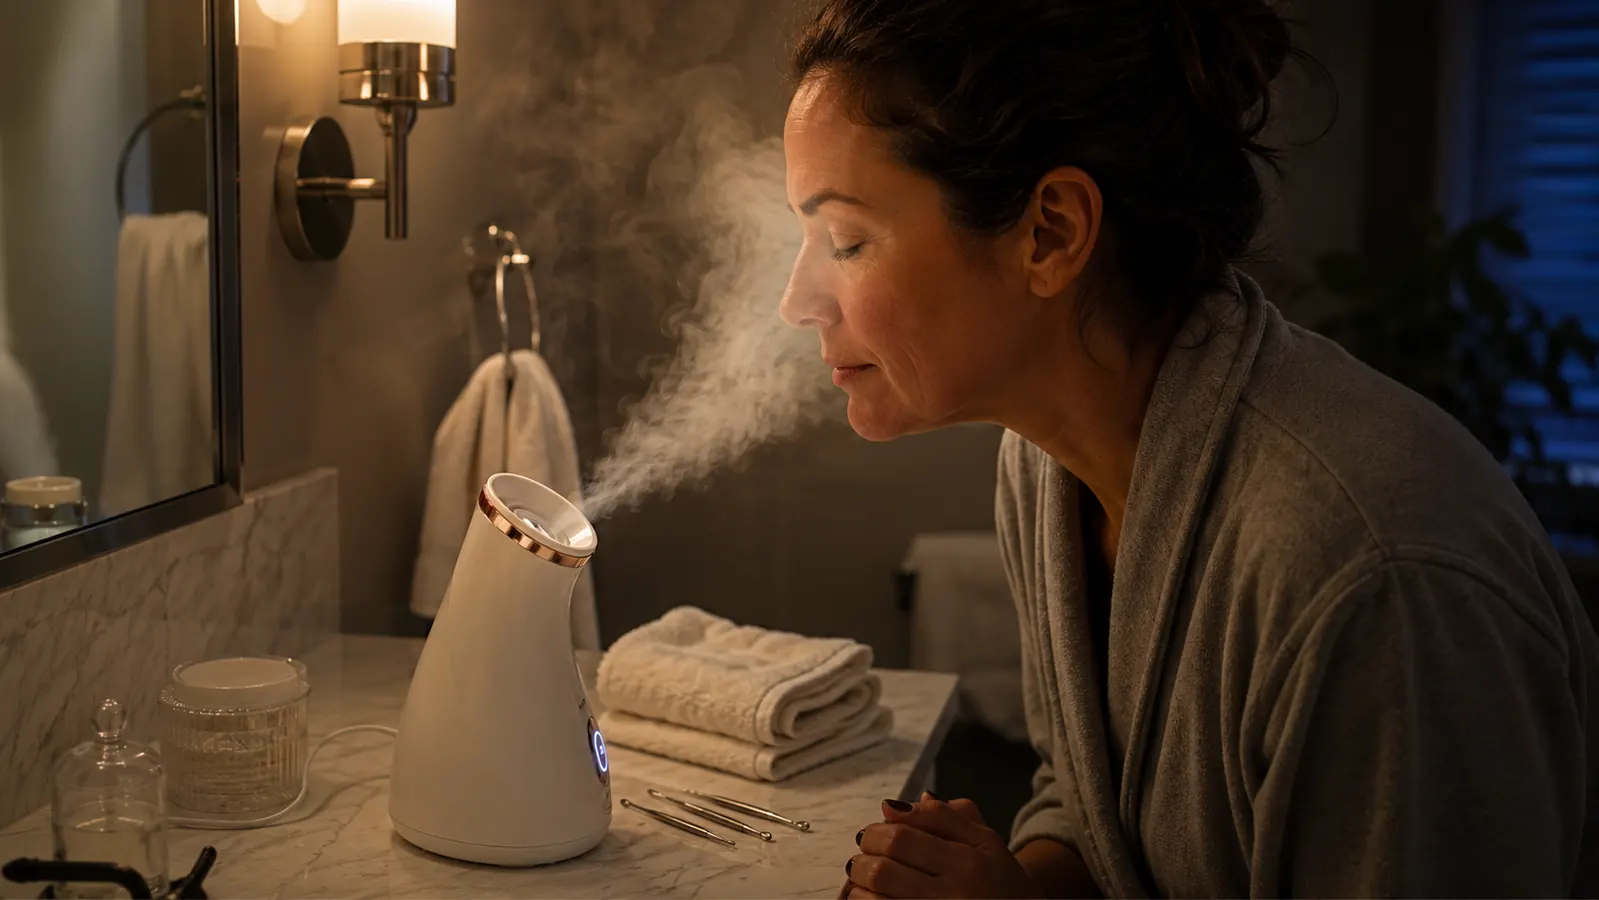
Facial steaming only does what it's supposed to do if you actually run the session in the right order, and for the first month I owned my NanoSteamer, I didn't. I drive a regional route for a living, long stretches behind the wheel with sun coming through the windshield on one side of my face and dry cab air blowing the rest of the day, and by the time I get home my nose and chin are congested in the same predictable spots. I bought the steamer expecting it to just work the moment I plugged it in. Instead I got a face full of warm mist and not much else, because I was skipping steps that actually matter.
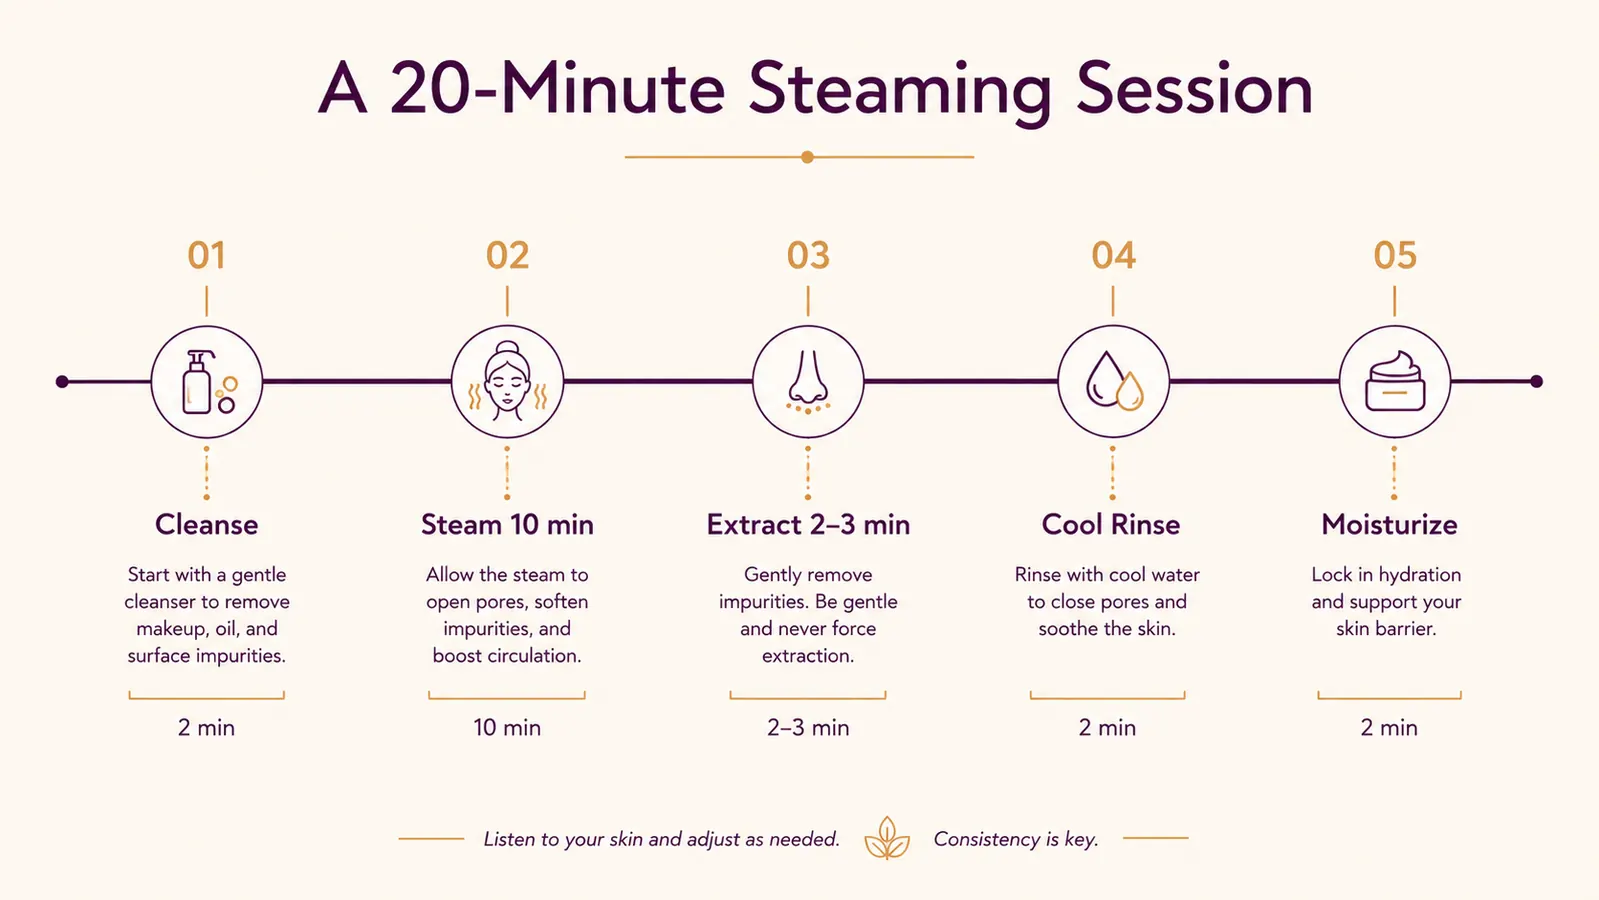
It took a handful of sessions and some actual reading of the manual before I understood that steaming isn't a stand-alone step, it's the middle of a five-part sequence. Skip the prep and the mist has nothing to work with. Skip the after-care and whatever the steam opened up just closes right back down with nothing gained. Once I built the full routine around the NanoSteamer instead of just running it in isolation, the difference in my pores and blackheads showed up within a few weeks. This is that exact routine, step by step, so you don't burn a month figuring it out the slow way like I did, and so you're not left guessing what to do in the ten minutes on either side of the actual mist.
Every step below assumes you have a real nano-mist steamer, not a bowl of hot water
I run this whole routine on the NanoSteamer, the same unit with the ionic nano-mist and the bonus five-piece stainless extraction kit I reference throughout this guide. It's the one sitting in my bathroom cabinet right now.
Amazon Check Today's Price on Amazon →Step 1: Cleanse your face completely before you turn the steamer on
Warm mist can only reach your pores if there's nothing sitting between the mist and your skin. Sunscreen, leftover foundation, a day's worth of road dust, dried sweat, all of it blocks the steam from doing anything useful, so it ends up just sitting on top of a layer of grime instead of actually softening the debris inside your pores. I wash with a gentle cream cleanser first, nothing with exfoliating acids, because I don't want any stinging right before my skin gets warm and more permeable.
Use lukewarm water for that first cleanse, not hot. You're about to expose your skin to warm mist for ten minutes anyway, and hot water on top of that is a fast way to strip your skin's barrier, especially if you already deal with the kind of dryness I get from hours of recycled cab air. Pat dry with a clean towel instead of rubbing, and skip any retinol, vitamin C, or exfoliating toner before you steam. Bare, clean skin only going in. Save your actives for after the whole session is done.
If you wear contacts, take them out before you start. The mist sits close to your face for a while, and I learned the hard way that fogged-up contacts make for a genuinely miserable ten minutes. Pull your hair back too, since loose strands hanging near a warm mist stream get damp fast and end up sticking to your forehead the whole session. A headband or a couple of clips takes ten seconds and saves you from fussing with your hair the entire time the mist is running.
Step 2: Fill the tank right and set the correct distance
Use distilled water in the tank, not tap. I skipped this rule for my first three sessions and started noticing a faint white mineral residue building up near the nozzle by week two. Distilled water is a couple dollars at any grocery store, and it's the one supply cost that actually protects the unit long term, so I keep two jugs under the bathroom sink now instead of running out mid-week.
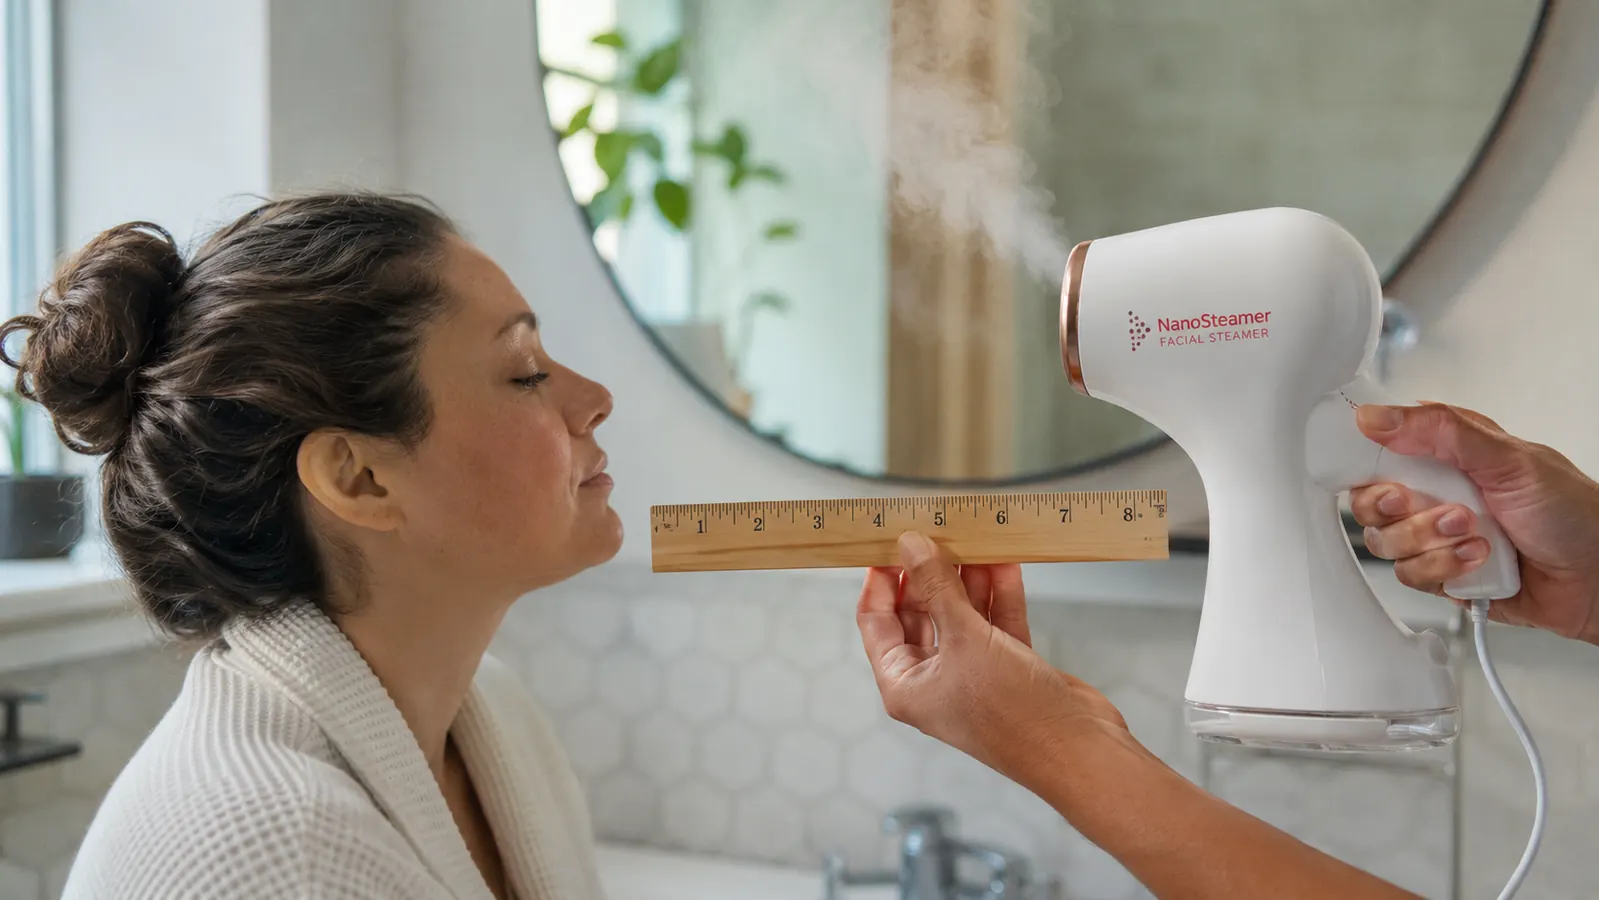
Distance matters more than people expect. I sit roughly eight inches from the nozzle, close enough to actually feel the warmth of the mist on my skin, far enough that it never feels scalding. Too close and the steam can run hot enough to be uncomfortable, especially in the first minute or two before the unit settles into a steady output. Too far and you're basically just sitting in a slightly humid bathroom doing nothing for your pores. I eyeball it against the edge of my bathroom counter now, but a ruler the first couple times isn't a bad idea if you're not sure, and it's worth checking the manual for your specific unit since nozzle height and output can vary a little between models.
Sit upright, not hunched over a sink with your neck craned down. I found a stool at counter height worked better than standing, because standing meant shifting position every couple minutes as my legs got tired, and every shift changed the distance and angle of the mist hitting my face. Getting the setup right once at the start saves you from fidgeting through the whole session.
Step 3: Run the full ten minutes, don't cut it short
Ten minutes is the number I've landed on after months of sessions, and it's roughly what the manual recommends too. The first five minutes is mostly your skin warming up and starting to soften whatever's sitting in your pores. The real loosening happens in that back half, minutes six through ten, which is exactly the stretch people cut short when they get impatient or their arms get tired holding a towel around their shoulders.
Close your eyes for most of the session. It's not a laser and it's not going to burn you, but staring straight into a warm mist stream for ten minutes isn't comfortable and isn't necessary. I usually just sit there, sometimes with a podcast going, sometimes just letting my mind go quiet, which turned into a decent stress-reset at the end of a long shift, honestly more than I expected going in.
Don't go past fifteen minutes, even if it feels good. Over-steaming can leave your skin overly stripped and dehydrated by the end, which works against the whole point of the routine. If your face feels flushed or uncomfortably hot before the timer's up, pull back a few extra inches rather than stopping entirely. That small adjustment usually fixes it without losing the session. And if your skin runs sensitive or you're prone to flushing, start with five or six minutes the first time and build up from there once you know how your skin actually responds.

Step 4: Extract gently while your pores are actually open
This is the window that makes the whole routine worth it. Right after steaming, while your pores are still soft and open, blackheads and clogged debris come out with noticeably less pressure and less redness afterward than trying to extract on dry, unsteamed skin. I use the loop tool from the bonus stainless kit that came with mine, working gently around my nose and chin where most of my congestion sits, two to three minutes total, never longer.
Gentle is the operative word here. If something isn't coming out with light, even pressure, leave it. Forcing an extraction that isn't ready causes bruising and broken capillaries that take way longer to heal than the original blackhead would've taken to clear on its own with a second steaming session down the line. I've had a stubborn spot on my chin take three separate weekly sessions to fully clear, and that was still faster and gentler than what I used to do with my fingernails.
Wipe the tool clean between uses and wash it with soap and warm water after every session. It sounds like a small detail, but a dirty extraction tool going back onto freshly opened pores is a good way to introduce the exact bacteria you're trying to clear out in the first place. I keep a small dish of rubbing alcohol next to the sink now and give the loop a quick dip before I ever bring it near my face.
Step 5: Cool your skin down and lock in hydration
Once extraction's done, splash your face with cool, not cold, water. This is the step most people skip entirely, and it's the reason a lot of folks end up with flushed, irritated-looking skin after steaming instead of the calm, dewy look they were going for. The cool rinse helps your pores start closing back down cleanly instead of sitting wide open while you go about the rest of your evening.
Follow with a hydrating toner while your skin is still slightly damp, then a plain moisturizer to seal everything in. Your skin absorbs product noticeably better in the few minutes right after a steam, so this is the moment to use whatever serum you actually want to sink in, not skip past it because you're tired and ready for bed. If you're steaming in the morning, sunscreen after is non-negotiable, especially for anyone getting hours of windshield sun like I do.
Skip any retinol or exfoliating acid the same night as a steaming session. Freshly steamed, freshly extracted skin is more reactive than usual, and stacking an active ingredient on top of that is how a lot of people end up blaming the steamer for irritation that was actually caused by what they layered on afterward. Give it until the next day before reintroducing anything with acids or retinol, and if your skin looks a little pink for twenty or thirty minutes after a session, that's normal circulation settling down, not a reaction.
What Else Helps
Once a week is where I've landed for maintenance, though I ran it twice weekly for the first month when my congestion was worse. More than that and I noticed my skin starting to feel a little too stripped by the end of the week. Consistency mattered more than frequency once I found the right rhythm, the same way it does with basically every skincare step that isn't a one-time fix. I mark it on the same day every week now, Sunday night, so it doesn't become the thing I always mean to get to and never actually do.
The rest of your routine still carries most of the weight. A gentle, non-stripping cleanser day to day, sunscreen every morning regardless of whether you steamed the night before, and actual sleep all move the needle more than people give them credit for. The weeks I was running on five or six hours a night, my skin looked congested and dull no matter how consistent I was with steaming sessions, which was a frustrating thing to notice but an honest one.
Small habits outside the bathroom add up too. I started wiping my steering wheel and phone screen down more often, since both of those touch my hands and end up near my face constantly during a long shift. Changing my pillowcase weekly instead of letting it stretch into a month made a visible difference on the side of my face I sleep on. Drinking more water on driving days helped less than I expected, though it never hurt. None of it replaces the steaming routine. All of it just gives the routine less to fight against.
Steaming doesn't do the work on its own. It opens the door. What you do in the ten minutes before and after is what actually decides whether anything changes.
Ten minutes of mist, two minutes of gentle extraction, one habit that actually sticks
The NanoSteamer's nano-fine mist and bonus stainless extraction kit are what made this routine something I keep doing instead of something I quietly gave up on by week three. Check today's price on Amazon before your next Sunday reset.
Amazon Check Today's Price on Amazon →